


"I have lost my archived emails which contain important data. How could I recover it?" - A user asked.
How to recover archived emails is the common question posed by many individuals whose emails might have got deleted permanently with or without their knowledge. Emails are one such possession available in this modern era where in they have completely diluted the burden of travel. Emails have become a necessity for every individual to drive click activity and instant communication. One can accomplish tasks and be in touch with the world proceedings with the help of emails. Sensing its utmost importance in the present era it is obligatory to preserve and avoid the misuse of emails to avoid bitter results.
How to Recover Archived Emails on Mac and Windows
If one is in a hunt for looking ways to recover lost emails then iSkysoft Data Recovery for Mac (or iSkysoft Data Recovery for Windows) is one of those powerful and professional softwares. iSkysoft data recovery software is one of those powerful tools which aid users in retrieving unexpectedly deleted, lost and formatted data with few simple steps.
Why Choose This Software to Recover Archived Emails:
- Easy to use and enables retrieval of many things which includes videos, photos, emails, archives and so on.
- It facilitates the user to preview the data which is to be recovered.
- One can pause and resume it for their convenience in case of emergencies.
- It can scan one's device intensely to gain the raw file.

Step-by-Step Guide to Recover Archived Emails
Step 1 Select "Email" Option
After the installation of Recoverit (IS) for Mac or Windows, double click the icon. There will be six sections displayed in the main section and they are "Photo", "Music", "Video", "Email", "Document" and "Others". Now click one or few files which you wish to recover. There is also an option "All File Types" on the left top corner which aids in scanning and recovering the entire data. Then click on "Next" option.

Step 2 Select a Location to Scan
The next window displays the locations which are to be scanned and are categorized into 4. They are "Common location", "Hard Disk", "External removable device", "I can't find my partition". Select your target location and to begin the scan process click on "Start" button. If one wishes to navigate to the previous window then click on "Back" option.

Step 3 Quick Scan Process
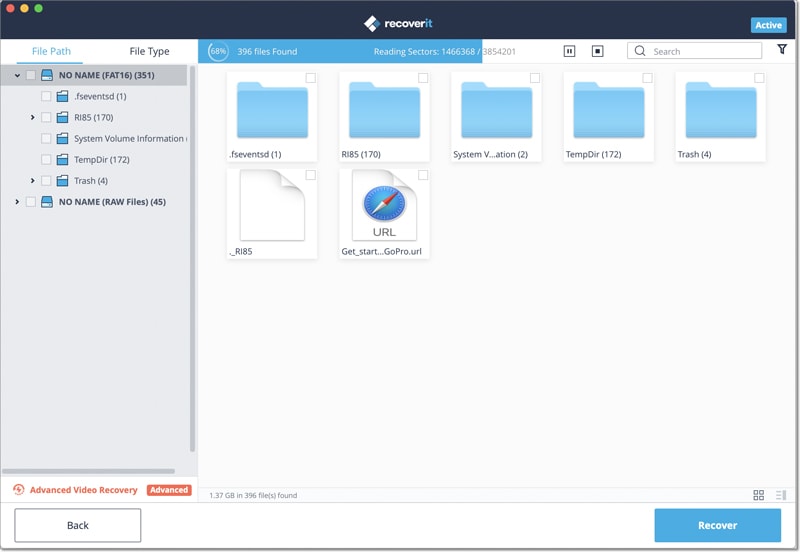
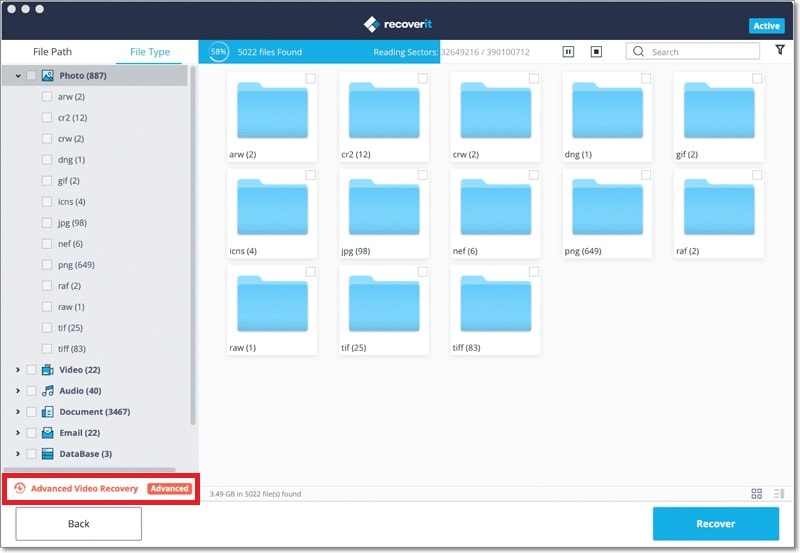
After the completion of "Quick Scan" process, few files are displayed by the program. On the left, there are two options called "Files View" and "Tree View" which incorporates the scanned files. "File View" displays the scanned files based on file types and "tree view" displays exact tree location. Click on each item to preview.
Step 4 Recover Archived Emails
On the top of window, you can click on "Search" and "Filter" which aids in finding your desired data faster. The little icons on the upper right give one a choice to change the display style. After selecting the desired data mark on the corresponding files and click on "Recover" button to save them.
Alternative: Deep Scan and Recovery
Deep Scan and Recovery is another process which could be used despite Quick Scan process. If your desired files couldn't be found in the scanning results then "Deep Scan" enables to search the files deeper. The option "Can't find files, use Deep Scan" is present at the bottom to initiate the "Deep Scan" mode. The program will find more lost data but takes more time than "Quick Scan".
After the scanning is done, select the files and click "Recover" to finish the data recovery process.

The rapid industrialization in communication technology and internet services revolutionized the way in which we send an email. Email is one of those powerful communication networks used by almost all the individuals in this contemporary world. Above procedures would aid in recovering information through which one can avoid bitter consequences.


