


Email, also known as electronic mail is considered t be one of the main channels of communication. But laptops get damaged, stolen or lost, hard drives crash unexpectedly, users accidentally delete and corrupt some or all of their important files, etc. All these scenarios can result in loss of email accounts and email data. In this article, we provide you with 2 methods on how to restore email account and email data lost from such disasters.
Part 1: How to Restore Email Account from Time Machine
Time Machine is a backup software that comes with every Mac. Most people understand how to back up data with Time Machine, but don't know how to actually recover backed up files, including email accounts and email data using it.
Step-By-Step Guide on How to Restore Email Message from Time Machine
Note: The key to restoring email account from time machine is that it must be running on your computer or laptop and you must have backed up your files before you could realize that you had lost your email account and email data.
Step 1: Connect the time machine backup drive to your Mac, menu.
Step 2. Scroll back to the date of the backup when your email account and email data were last present and select a message.
Step 3. Click the "Restore" button and let Time Machine restore the message to a new mailbox called Recovered messages.
Note: You can also restore everything in your Time Machine Backup, including your email account and email data using MacOS Recovery or copy the files, settings and user accounts in your backup using Migration Assistant.
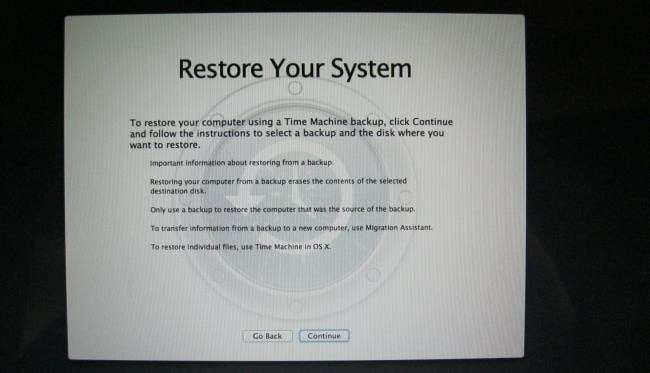
A. An Entire Mac Using MacOS Recovery
Note: This is only possible if your backup was created on the same model of Mac.
Step 1. Access recovery mode by holding down the "Command + R" as your Mac boots. You’ll then be able to see an option to restore your entire system from a Time Machine Backup.
Step 2. Alternatively, you can hold the "Option" key as you boot, select the "Time Machine" drive and then boot straight to recovery mode even if the recovery system is unavailable on your Mac. This works since Time machine also backs up your OS X Recovery files to your Time machine backup disks.
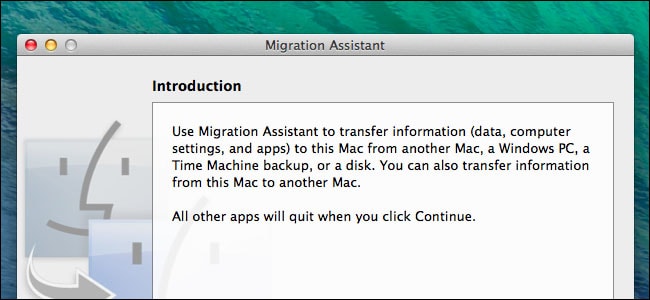
B. Time Machine Backups on Another Mac Using Migration Assistant
Step 1. Navigate to the Application/ Utilities folder and open Migration Assistant. Also you can press "Command + Space" and search for Migration Assistant before you can press "Enter".
Part 2: The Safest Way to Restore Email Data on Mac and Windows
Recoverit (IS) for Mac (and Recoverit (IS) for Windows) provides you with the easiest, fastest and simply the best way to restore email data on Mac and Windows PCs. It's programmed with the latest powerful scanning algorithms, which lets it scan any Mac & Window based hard drive as well as external hard drives without destroying any data. You are free to use "Quick Scan" or "Deep Scan" mode, both which uses a safe read-only scanning process while searching for lost data.
The software acts as an all-in-one data recovery software, enabling you to restore emails, audios, videos, images, documents and archives lost due to accidental deletion, virus infection, formatting, improper operation and most other reasons you can think of. You’ll love everything that Recoverit (IS) has to offer, from the support of one-click pause & restart of the scanning process to the fact that it lets users save scan results to resume recovery later.
Why Choose Recoverit (IS) to Restore Email Data on Mac and Windows

- "Deep Scan" mode scans the entire file system, greatly increasing your data recovery success.
- You are free to scan files of a selected file type and save your precious time.
- The software supports data recovery from almost all devices including computers, players, digital cameras, USB devices, etc.
- The program lets you preview and distinguish valid & invalid files before recovery.
- Your files are restored in original quality and it can recover them with original file names and file folders.
Step-By-Step Guide on How to Restore Email Data Using Recoverit (IS) for Mac
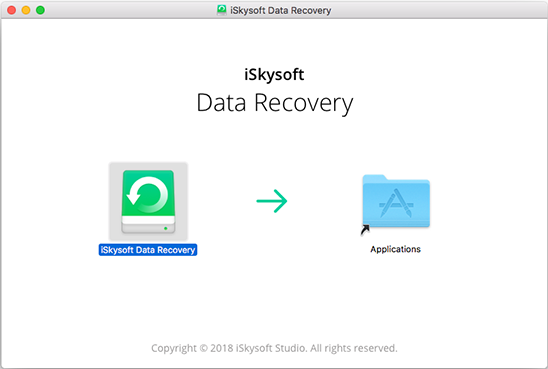
Step 1 Download & Install the Software
Use any browser to download Recoverit (IS) on your Mac. Before you can install it, you should note that the software shouldn't be installed on the same drive where you lost your email. This helps prevent the lost emails and other files from being overwritten. So if you wanted to restore emails from Disk (C:), you aren't supposed to install the program on Disk (C:). Install it on other disks instead.
Step 2 Run the Software & Select the File Type to Recover
After the installation, launch the program on your Mac. You’ll then see the main window of software, with six tabs that represent the file types you can restore with Recoverit (IS)- "Photos", "Emails", "Audios", "Documents", "Videos", and "Others". Simply choose the file type you want to recover by clicking the "Email" tab. If you want to recover all types of data, just select the "All File Types" option located at the top left corner. Then click the "Next" button to proceed.
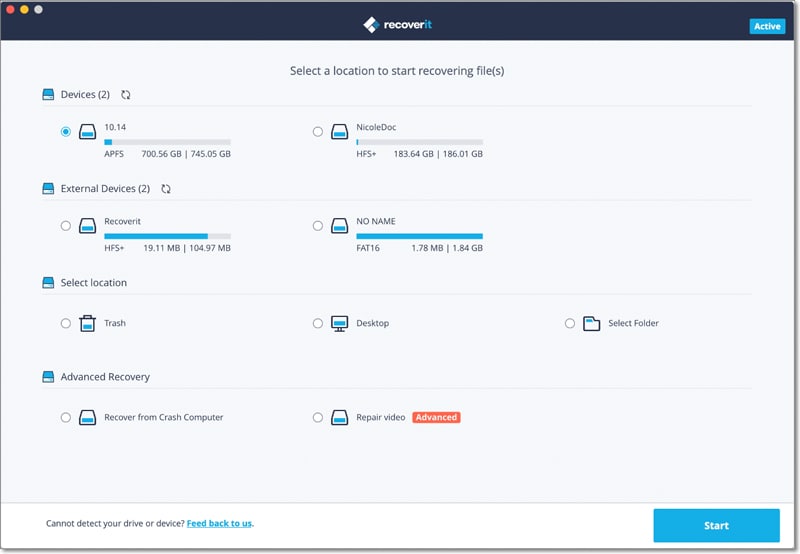
Step 3 Select the Target Location to Scan
In the next window, you’ll see all your drives, categorized into 4 parts; "Hard Disk", "Common location", "External removable device" and "I can’t find my partition". Find the target drive and hit the "Start" button to begin scanning it.

Step 4 Scan and Restore Email Data Using;
A. Quick Scan and Recovery
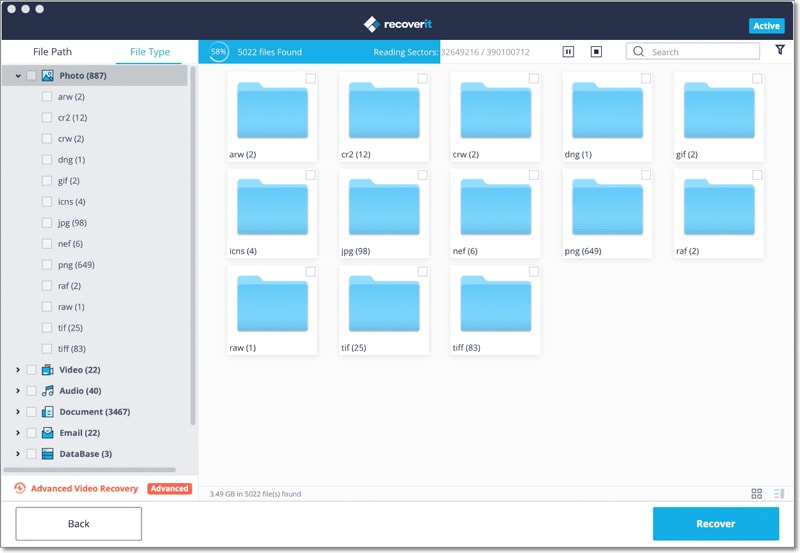
This data recovery mode takes a few seconds to finish the scanning process. When it's completed, the found files are displayed in a new window.
- From the left of the window, you'll see the "Files View" and "Tree View" contents. Files View displays the found results by file types while Tree view shows them with their exact location. Use any of the two options to preview the recovered data.
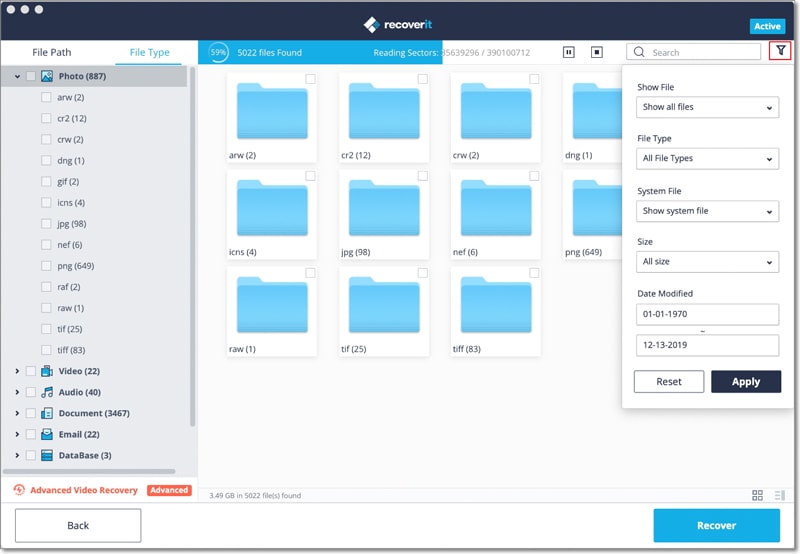
- At the top of the window, there are the "Search" and "Filter". You can use these two to find your data in a faster and better way. Also, at the upper right, you’ll be able to see 3 little icons, which provides you with a choice to change the display way of the data.
- When you find your wanted data, Emails, mark them and click the "Recover" button, located at the lower corner of the window, to save them.

B. Deep Scan & Recovery
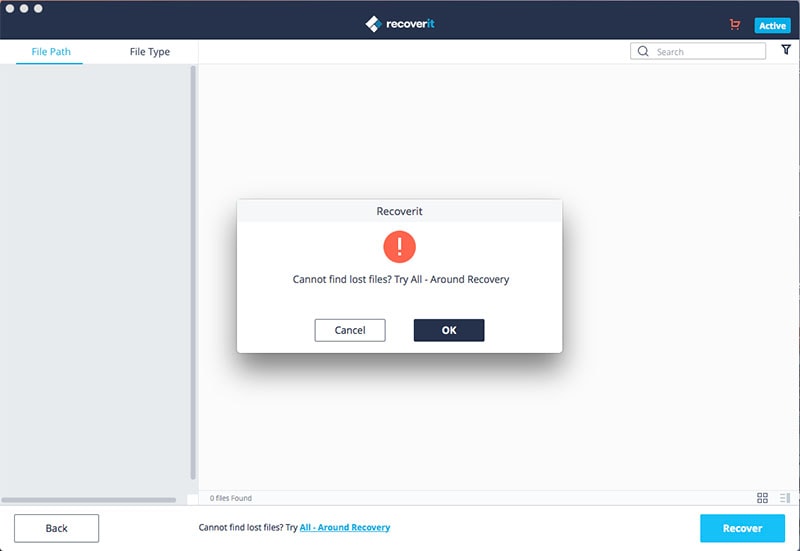
In case you can't find your data with after a "Quick Scan", you can use the "Deep Scan", mode which searches for the lost files deeper. There are 2 ways to trigger this mode;
- If "Quick Scan" mode hasn't found any lost data, a pop-up window appears to suggest that you can use "Deep Scan" mode. You simply need to click on the "OK" button in the pop-up window to enter "Deep Scan" mode.
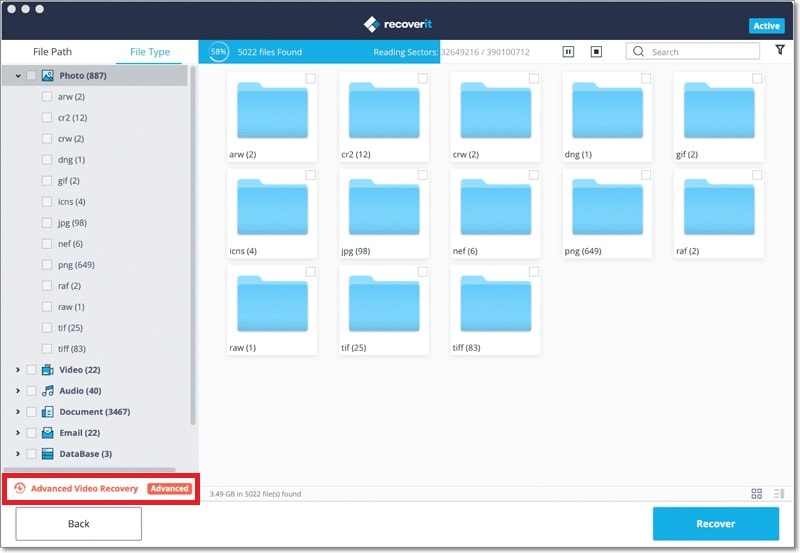
- Or, take a closer look at the bottom of the window, where there's an option "Can't find files, use Deep Scan". You can use it to directly start the "Deep Scan" mode.
After the scanning process is completed, select the data that you want to restore, Email, and click the "Recover" button to complete the email data restoration process.


