Most portable devices like Memory cards, USB flash drives, pen drives and external hard drives helps you share, preserve, backup or "carry" essential data, while some serve as secondary storage devices for digital gadgets, (digital cameras, media players, smartphone and more). Therefore, portable devices play a vital role in your daily life, regardless of whether you are an average or professional computer user. Since portable devices are used on multiple systems, you might lose some of your important files due to accidental deletion or formatting, virus attack, improper removal, power failures, software malfunctions or conflict, sudden system shutdown, unexpected unplug and more. But you can still perform portable file recovery with a comprehensive data recovery tool, which can be downloaded from the web.
- Part 1: The Best File Recovery Tool for Portable
- Part 2: How to Recover Portable File Without Admin Rights
Part 1: The Best File Recovery Tool for Portable
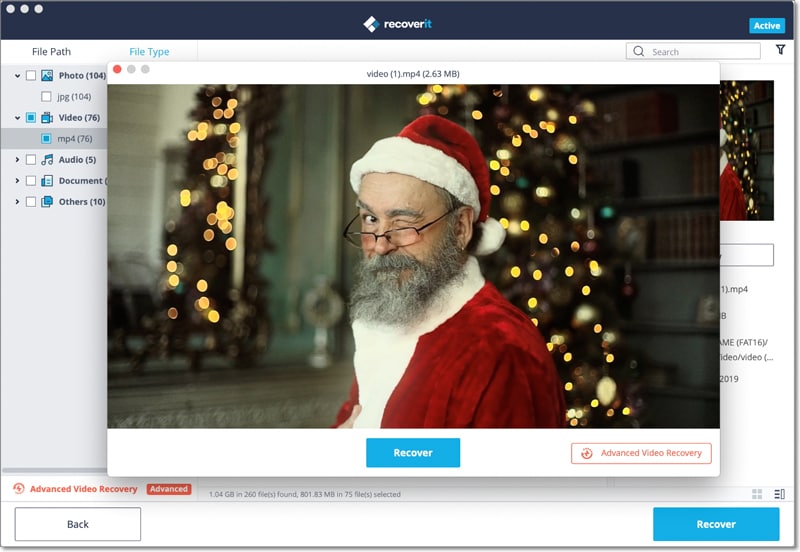
Recoverit Data Recovery for Mac (or Recoverit Data Recovery for Windows) is all you need to recover lost files from all portable devices like memory cards, USB flash drive, digital camera, media player, iPod, SD Card and more.
Why Choose This Portable File Recovery Software:
- User-friendly interface allows anybody to recover data quickly and painlessly.
- The program recovers data from HFS+, HFSX, FAT16, FAT32, exFAT, and NTFS file systems.
- You can find your files in no time with the help of the advanced file filters and folder tree.
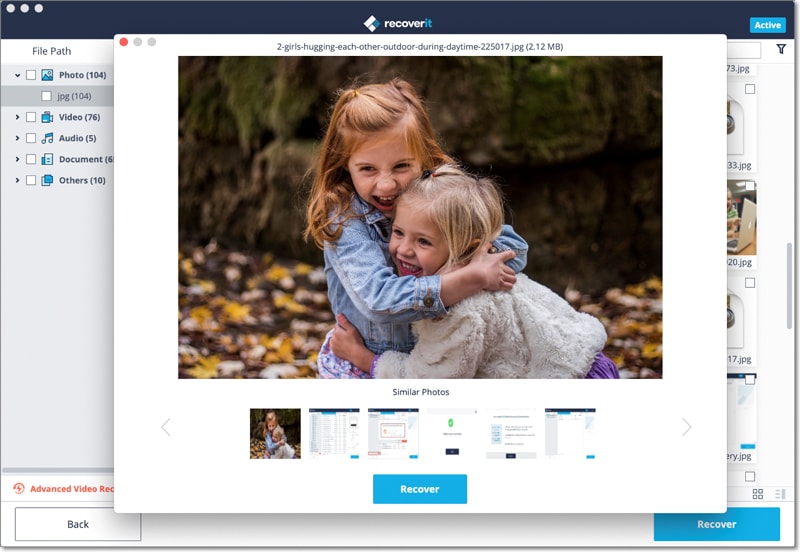
- Since you can preview data before recovery, you'll be able to distinguish the valid and invalid data with ease.
- It scans files with extremely fast speed and recovers them in original quality.
Step-by-Step Guide to Recover Lost Files from Portable
The program uses the latest powerful scanning algorithms to scan your portable hard drives safely, without destroying any data. It's programmed to recovers almost any file, including photos, videos email, music, archive files, documents and more. As a user, you will also have the opportunity to determine whether each recoverable file is exactly what you would like to retrieve since you can preview lost files before you can click the "Recover" button.
Note: Once you have realized that an important file is missing, corrupted, formatted or lost on your portable device, stop using it maybe until you successfully recover the lost file. Continued operation of the portable device (including adding new data or transferring files with the portable device) can cause permanent data loss.
Step 1. Download and Install the Software
Since we are recovering data from a portable / external device, you can download and install the software on your Mac drive without being worried of overwriting your lost files. Go to download Recoverit. Drag the file to "Applications" in order to install the program on your Mac. Plug in the USB flash drive, SD Card, iPod, Media player, digital camera or any other portable device to the respective ports of your Mac. If a connection cable is needed, ensure that's an original one. From the first window of this software, please select the data types that you hope to recover in the process. Then click "Next".
Step 2. Connect Portable Device to Mac
Now a window will appear showing logical drives with the storage size and file system. If the drive of your portable device is not in the list, click the refresh icon and it will appear. Select it and then click on the "Start" button located on the bottom of the software interface.

Step 3. Preview and Recover Lost Files
When the scanning process is complete, a new window will open. This is where you can now preview your files before recovery. To recover your data, check the files in the scan result list and then click the "Recover" button located at the top of the software's interface. Save the data to the selected path and not to the drive of your portable device where you saved your lost files. "OTHER" external drives are highly recommended.

You can notice there is a "Deep Scan" option on the bottom. "Deep Scan" is another choice for you if you don't find your wanted files in the previous results. This scan mode will look deep into your drive and recover much more lost files for you.
Part 2: How to Recover Portable File Without Admin Rights
The process of downloading and installing data recovery programs and other programs is generally considered to be an easy task. However, there are some cases where administrative privileges are required to run a third party software. This means that if you do not have the administrator's password, you may not be able to recover your lost data. Luckily, there are some loopholes in the operating systems that you can use to give your non-admin account the administrative privileges. If you do not have a non-admin account, you might try to crack the admin password with the help of a reliable hack programs, but you can spend a whole day looking for an effective one.
Step-by-Step Guide to Recover Portable File Without Admin Rights
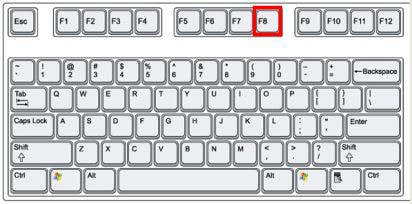
Step 1. Reboot your PC by going to Start > Shutdown > Restart. Press the "F8" button three times at the first screen that appears just after the PC begins rebooting.
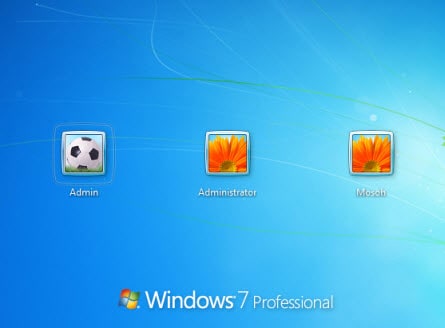
Step 2. Select "Safe Mode" from "Boot Options" menu and press the "Enter" button. Click on the "Administrator" account on the login screen, and not the "admin" or your normal account name. Microsoft includes this account, but it's hidden in the normal Windows Mode. It's a default account and doesn't need a password.
Step 3. Go to Start > Settings > Control Panel. Double click on the "User Accounts", then click the "Manage Another Account" option.
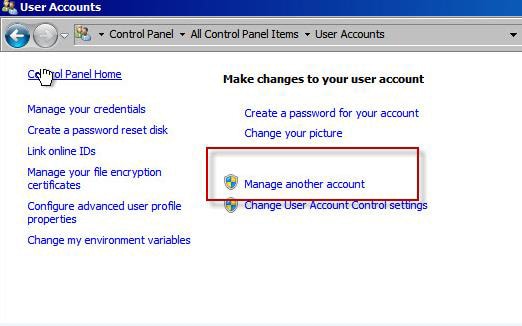
Step 4. Select your normal account name, click "Change Account Type" option and click the circle/dot next to "Computer Administrator". Click "Apply" and exit the "User Accounts" control panel. Click the Start > Shutdown > Restart options. You'll then be able to use your normal account to install a data recovery program such as Recoverit (IS) for Windows and start the portable file recovery process.
Note: If you do not want the account to have the new privileges permanently, you can change them back to what they were once you have recovered your portable files. It's a simple process that just involves going to "User Accounts" control panel and then selecting the "Limited" option in the privileges section.


