Our Android devices are more than just communication gadgets. As a matter of fact, we use these devices more as media storage devices. We save lots of photos, music and video files on our devices and because it is very easy to lose the data, it is vital that we take measures to ensure that we keep this data safe like going to do Android photo backup, also including backing up music, video and other data. You can lose this type of data in one of very many ways. For instance, a software update has been known to cause data loss or physical damage to the device could render it useless. In this article we are going to look a simple yet effective method to make sure you never lose your Photos, music or video files if you ever end up in one of these data-destroying scenarios.
Part 1: How to Backup Photo, Music and Video from Android
The simplest and most effective way to backup photos, music and videos on your Android device is to use MobileTrans for Mac (or MobileTrans for Windows). This software provides a very simple method that ensures you backup your data on to your Mac in a few simple steps.
Key Features of MobileTrans:
- The principal function is that it is a phone transfer tool. It allows users to transfer various types of data including photos, music, call logs, contacts, videos and even documents between devices.

- It is also a great way to back up the data on your device to your Mac. You can easily just plug in the device and then select the data you want to back up and you will have a copy of your Android device on your Mac.
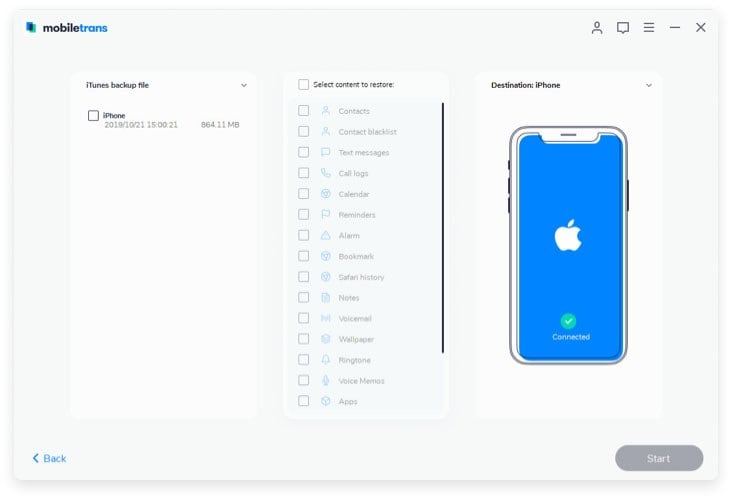
- It can also be used to restore files from various backup files. You can restore data to your Android device from an iTunes Backup file, an iCloud backup file or a Samsung Kies backup file.
- It is compatible with all Android devices and as we shall see shortly, it is very easy to use.
Step-by-Step Guide to Backup Android Photo, Music and Video
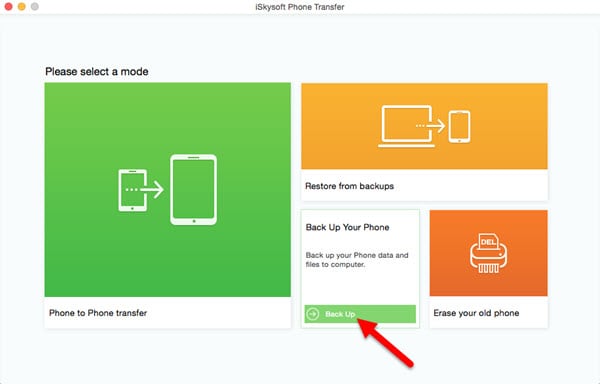
Step 1. Assuming that you have installed MobileTrans for Mac on your Mac, launch the program and click "Backup your Phone" to open the backup window.
Step 2. Using USB cables, connect the Android device to the Mac. You should see all the data on the device in the middle panel.
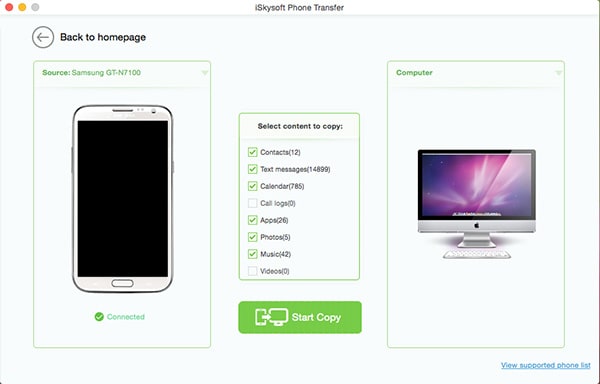
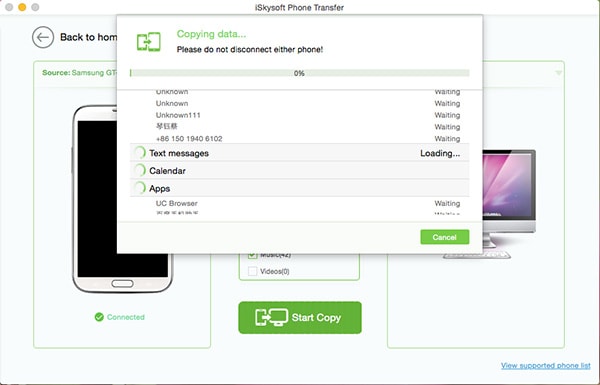
Step 3. Select the data you would like to back up, in this case photos, music and videos and then click "Start Copy" to begin the process. In a few minutes the data on your device will appear on the Mac.
Step-by-Step Guide to Restore Backup Data to Android
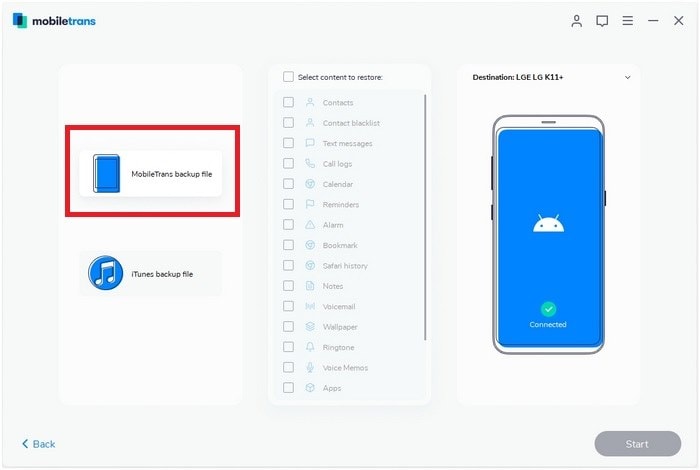
Step 1. Begin by launching MobileTrans for Mac on your Mac and then select the "Restore from Backup" option. Select "from Phone Transfer backup file".
Part 2: Top 3 Android Photo Backup Apps
If you want even more added security, you can try the following top 3 Android Photo Backup apps.
1. Google Photos
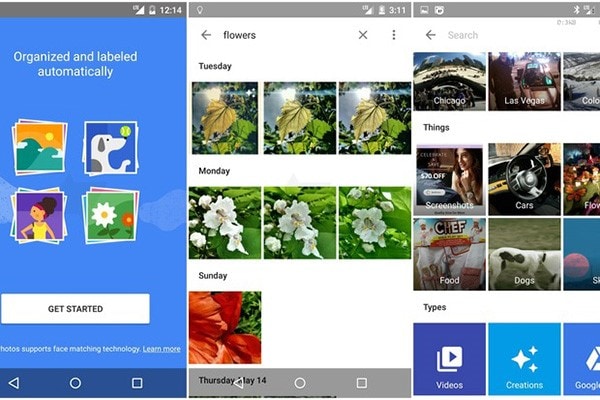
This is the official Google app that automatically backs up the photos you take on your device. This app makes photo organization on your Android device much easier. Every Google account gives you a Google Photos library. Every Android device comes with Google Photos pre-installed. If yours doesn’t have it, you can install it from the Play Store.
Pros:
- It offers unlimited free storage. You can save as many photos as you want.
- It works perfectly. There are no glitches or bugs to speak off.
- Every time you take a photo, it is automatically synced with Google Photos for added security.
Cons:
- The raw and full resolution that Google Photos stores can really eat into your Google Drive Storage.
- It comes with less than ideal editing tools.
2. OneDrive
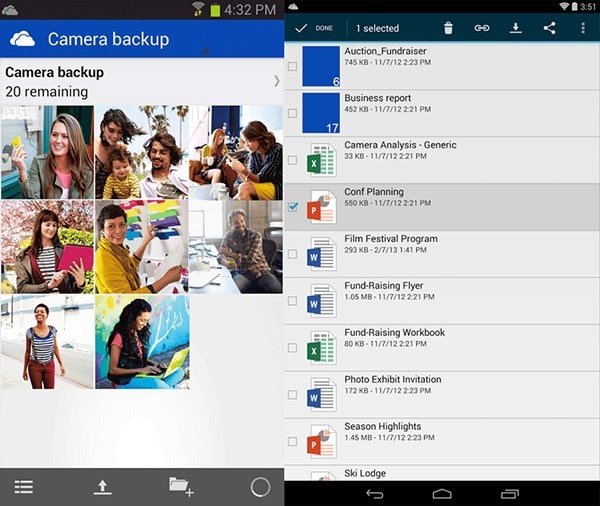
The Android app version of OneDrive has a built in automatic photo upload feature that will detect the photos on your device and save them to your account. It doesn’t come with too many editing options but like Google Photos, every Microsoft account holds one OneDrive Photo library and your photos will be available online whenever you need them.
Pros:
- It is great because photos are saved automatically after you take them.
- The photos are available online and can be downloaded anytime.
Cons:
- There are no photo editing features.
3. Photo Backup
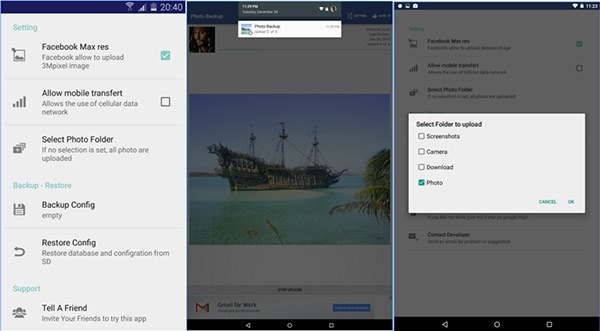
This app automatically allows you to upload all your photos to a private album on Facebook that is accessible only to you. it offers a number of security features that make it impossible for another person to have access to the photos. Also, the photos uploaded to Facebook will only be seen by you although you can alter these permissions.
Pros:
- It can be used to back-up up to 100 photos per album.
- There is relative control because the photos are backed up to your Facebook account.
Cons:
- It is not clear how secure your photos would be as compared to the security offered by Google or Microsoft.


