Taking all sorts of photos on iPhone has become a trend. You not just take photos with iPhone for fun and delete afterwards if your phone runs out of free space for storing other types of files and applications. Due to this, you alike have come up with different ways to safely keep iPhone photos on other platforms, specifically computers. In this article, we will discuss 4 easy ways to transfer photos from iPhone to computer, Mac (Yosemite) or Windows.
- Part 1: 1 Click Transfer All Photos from iPhone to Computer
- Part 2: How to Directly Transfer Camera Roll from iPhone to PC
- Part 3: How to Transfer Camera Roll from iPhone to Mac via iPhoto
- Part 4: Transfer All Photo Albums from iPhone to Mac
Part 1: 1 Click Transfer All Photos from iPhone to Computer

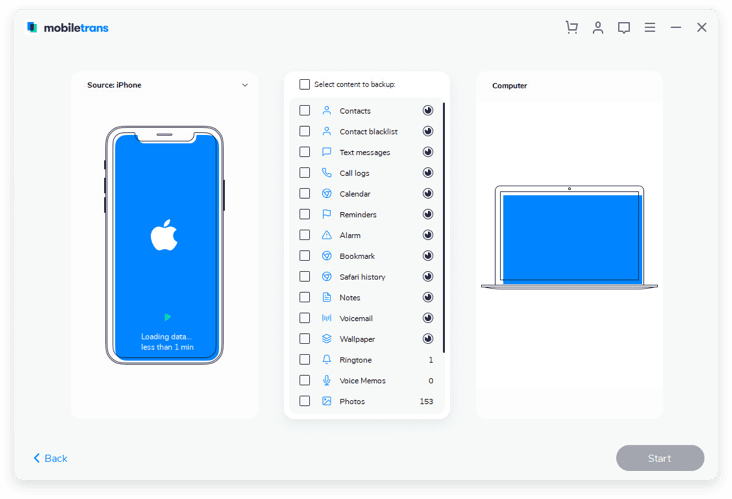
Want to transfer all photos including photo library, camera roll, photo stream from iPhone to computer without losing? MobileTrans for Mac ( or MobileTrans for Windows) is the great helper for you. This tool allows you to backup all photo albums from iPhone to computer in just a single click. Later, you can restore the photos to your new phone or any other devices using this transfer tool. It works well on phont to phone data transfer, so you are able to share your iPhone photos with your family and friends without any fuss. Just take a trial.
Simple Steps to Transfer Photos from iPhone to Computer (Mac or Windows)
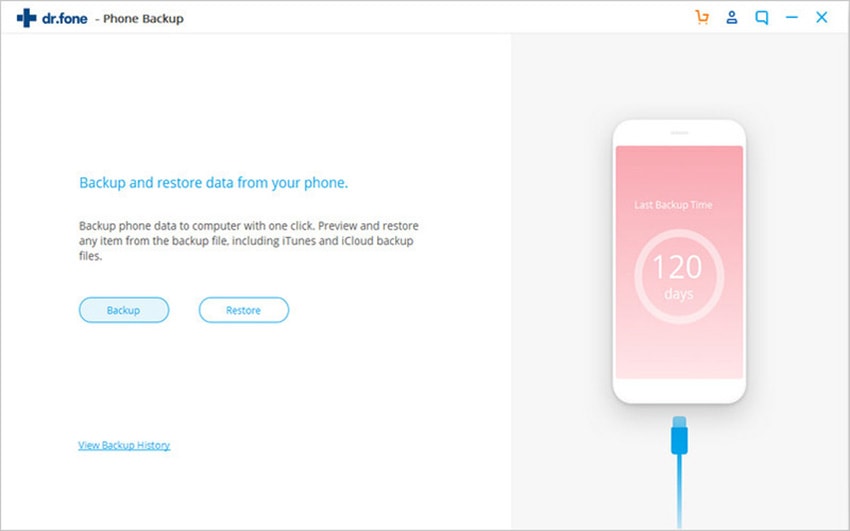
Step 1. Install and launch the phone transfer
First, set up this phone transfer on your computer. Launch the program and go to the main interface.
Step2. Transferring photos from iPhone to computer
Now go to "Back up Your Phone". Connect your iPhone to computer with a USB cable. You will see your iPhone data on the interface. Check "Photos" and click "Start Copy" to start transferring photos from iPhone to computer.
Part 2: How to Directly Transfer Camera Roll from iPhone to PC
Directly transferring photos from an iPhone to a computer is supported by Windows only. Mac users will need to make use of iTunes or another application to transfer photos. Anyways, follow these instructions to get the job done:
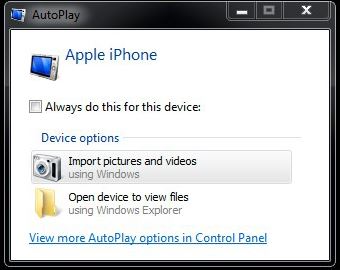
Step 1. Have your iPhone connected to your Windows PC, preferably using the cable that came with its original packaging. Once Windows detects your phone, AutoPlay will launch and you will see different options you can try out for your device.
Step 2. From "Device" options choose "Import pictures and videos". Windows will guide you from this point onwards and you will be asked to choose which photos or videos you'd like to save to your computer. Once you've made your selection, your selected photos and videos will now be transferred to your computer. You may also opt to Erase after importing by ticking the checkbox just beside the said option.
Step 3. You may disconnect your phone from your computer once Windows finishes the transfer.
Pros: This method is very convenient and hassle-free to try out on your own iPhone. You get to transfer photos within a matter of few clicks without bothering yourself with having to download and install a number of third-party applications just to get your photos to your computer.
Cons: Take note, however, that this feature of Windows is practically perfect only if simple photo transfer is your mere concern. If you're looking for more customization options and added features for your transfer, you won't find this suitable for you. It's only for transferring photos in Camera Roll, not Photo Library and Photo Stream.
Part 3: How to Transfer Camera Roll from iPhone to Mac via iPhoto
Apple has iPhoto to support you with just about anything basic you need when it comes to dealing with photos. It offers support to transfer photos from your iPhone to your Mac. Here's how it's done with iPhoto:

Step 1. Connect your iPhone to your Mac and launch iPhoto if it doesn't start up right away. iPhoto will then take you to its import window where you will see your iPhone's photos and videos.
Step 2. Click on "Import" to copy all of the photos that iPhoto has found in your phone. If instead you wish to not copy all of your photos, select the images you want to copy and hit Import Selected.
Step 3. Once your photos have been imported to your computer, you will be asked if you'd like to delete the original ones from your iPhone. Choose "Delete Photos" if you want to save some space on your iPhone and "Keep Photos" if you wish to still keep the original photos.
Pros: iPhoto is pre-installed on every Mac. It's very easy and convenient for Mac users.
Cons: It's only for transferring photos in Camera Roll, not Photo Library and Photo Stream.
Part 4: How to Transfer Camera Roll, Photo Stream and Photo Library from iPhone to Mac
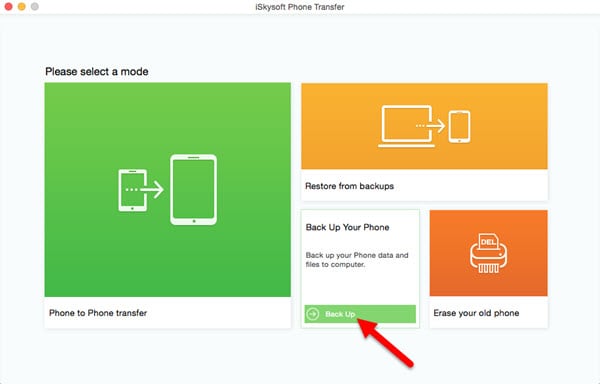
For Mac users, you can use iSkysoft dr.fone for Mac to transfer all pictures on your iPhone to the Mac, including Camera Roll, Photo Library and Photo Stream. This program is specially designed as iPhone transfer and manager, which enables you to transfer music, playlist, videos, photos and more from iPhone to Mac (iSkysoft dr.fone version is also available). You can do more with it:

- Copy music from iPhone, iPod, iPad to Mac or iTunes.
- Export videos from iPhone, iPad, iPod to iTunes/Mac.
- Transfer all photos from Cameral Roll, Photo Library and Photo Stream to Mac or iTunes.
- Copy playlists with rating and play counts to iTunes.
One click to Transfer Photos from iPhone to Mac
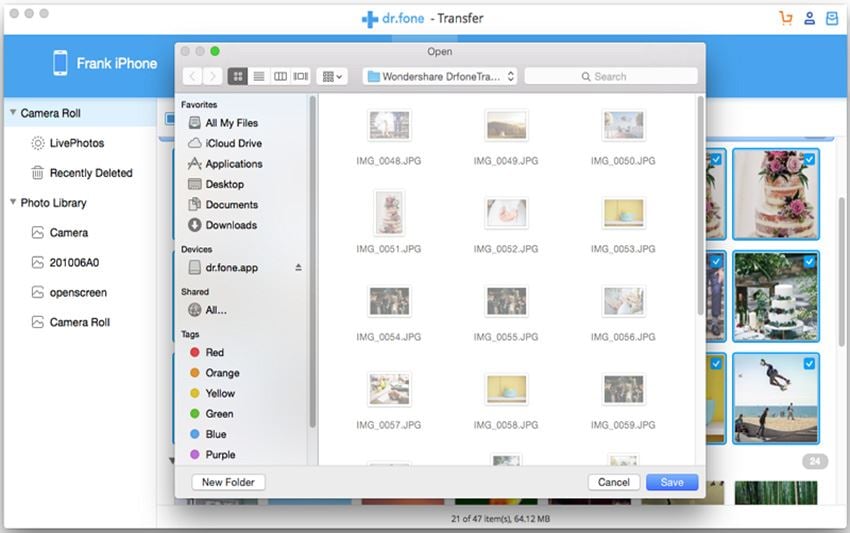
Step 1. Connect your iPhone to your Mac and open dr.fone. In the main window, click "Backup Photos to Mac".
Step 2. In the new window, you need to set a destination on your Mac to save the photos. Then click "Save". The program will start transferring.
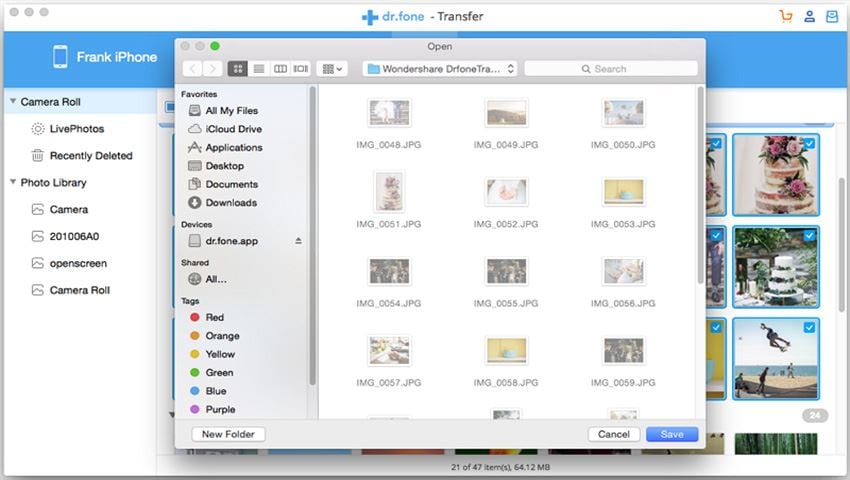
Step 3. When the process is done, you can see a messege telling you that you have backed up photos to Mac successfully.